
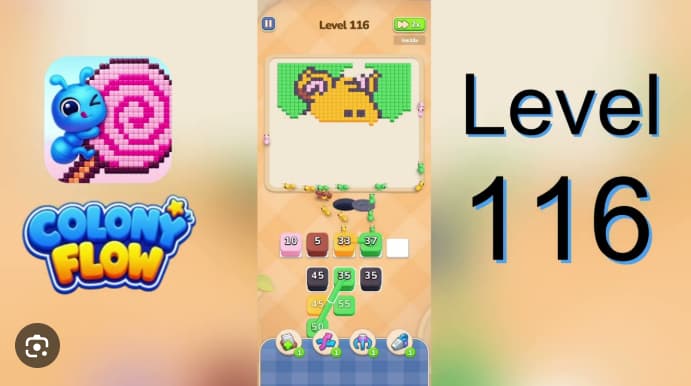














































































































































































Colony Flow Level 116 Walkthrough breaks down the confirmed solution for this puzzle level, starting with Opening Green 10 as the first move.
If you’re stuck on Level 116 or want to verify your approach before committing moves, this breakdown gives you the clearest path forward without unnecessary trial and error.
Colony Flow Level 116 Walkthrough
Colony Flow Level 116 is a seated teddy-bear portrait on a green background with a single ant hole. The solution requires opening the side rail with green 10 first, then building the yellow body and alternating yellow and black waves before adding pink ear and paw accents or the white face patch.
Premature detail colors block the entrance and prevent late green border cleanup from finishing the right wall and top-right background pocket.
How to Solve Colony Flow Level 116
Tap green 10 first.
This opens the left-side background rail and lower edge before larger stacks crowd the entrance.
Send yellow 20, then yellow 37.
These waves fill the teddy’s belly and lower head while the route is clear.
Bring in black 58 next.
The first large black wave establishes the ear ring, face edge, paw outline, and lower contour.
Alternate later yellow and black stacks.
Yellow expands the body while black keeps the outline open, preventing a single-hole jam.
Hold pink until the outline is open.
Use pink for the inner-ear and paw-pad details only after the surrounding black ear ring and paw outline are established.
Add white after the face contour is formed.
Start the white muzzle and forehead patch once black has shaped the face boundary.
Save later green stacks for cleanup.
Use them to finish the side rails, top border, right wall, and top-right background pocket. End with the smaller black accents to close the lower outline and right-side details.
Strategy Notes
Treat pink, white, and later green stacks as finishing traffic rather than early progress. The yellow body and black contour occupy the largest areas and need the single entrance hole most.
Pause between taps if the hole is packed. Avoid sending a new yellow or black wave while a previous stack is still congesting the entrance. Alternating the flow gives the teddy’s body room to expand without sealing off the contour paths needed for the face, paws, and lower edge.
Common Mistakes to Avoid
-
Sending pink or white early. Pink ear and paw-pad pieces, along with white muzzle ants, settle on tiny detail cells and block traffic needed for the main yellow and black waves.
-
Dumping green refills during midgame. Green is needed for the right wall, side rails, top border, and top-right background pocket. Using every green stack early leaves the board nearly complete but unable to finish.
-
Rushing all yellow and black stacks at once. Alternate body and contour waves so the single hole remains usable.
-
Using small black accents before the white muzzle strip begins. Save them for final contour cleanup, when they can safely close the lower outline and right-side details without getting trapped behind white traffic.
What should I tap first in Colony Flow Level 116?
Start with green 10. That opener starts the side background rail and keeps the left wall moving before yellow body stacks and the first big black outline wave begin sharing the same single ant hole.
Related Games
- Colony Flow Level 106 Walkthrough — Level 106 is a useful follow-up for players who want to compare Level 116’s alternating traffic management with another board centered on controlling a major yellow flood.
- Colony Flow Level 109 Walkthrough — Its late-detail timing challenge complements Level 116’s need to delay pink and white stacks until the main body, outline, and background routes are clear.
Why do the pink and white stacks fail in Colony Flow Level 116?
Pink belongs to the inner ear and paw pad, and white belongs to the small muzzle and forehead patch. If either family enters before the yellow body and black outline traffic have opened the route, those ants park on tiny detail cells and block the late green sidewall cleanup the board needs to finish.