
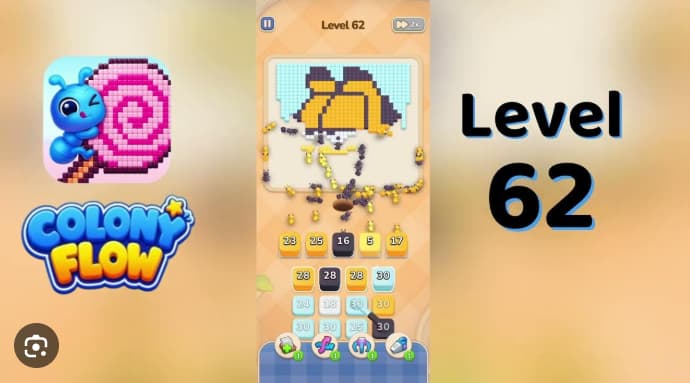














































































































































































Colony Flow Level 62 Walkthrough guides you through one of the trickiest puzzle stages in Colony Flow, where managing resource paths and timing becomes critical.
This walkthrough breaks down the optimal tile placement order, explains which colony paths to prioritize first, and shows you how to set up your flow patterns so the automatic routing works in your favor instead of creating jams.
Colony Flow Level 62 Walkthrough
This Colony Flow walkthrough gives the correct routing order for the Garfield-cat board. Yellow body, black outline, white teeth, and pink tongue waves all depend on the same dirt-path route, so clearing the opening waves in order is essential. Sending later colors too early can jam the route and stall the final refills.
Start with yellow 15 in active-row cell 2, then black 25 in cell 3. Wait one beat between them so the body clears before the outline begins. After both opener waves have started, drain source row 1 left to right: yellow 30, blue 38, 30, green 28. Hold blue 38 until the yellow body is at least half-cleared.
Next, use source row 2 in this order: blue 28, white 16, yellow 30, then pink 2 last. Wait until white 16 has mostly cleared the teeth before releasing pink 2—white and pink share the mouth route. Finish with source row 3 left to right, then feed the remaining small refills into empty buffer pads.
Step-by-Step Solution
-
Tap yellow 15 in active-row cell 2. Wait one beat for the ants to reach the path and begin clearing the lower body cells.
-
Tap black 25 in active-row cell 3 after the first yellow wave clears the route. Leave one beat between yellow and black.
-
Drain source row 1 from left to right:
- Yellow 30, column 1
- Blue 38, column 2
- Yellow 30, column 3
- Green 28, column 4
Let each stack rise into an open buffer pad before sending the next.
-
Use source row 2 in this order:
- Blue 28, column 1
- White 16, column 2
- Yellow 30, column 4
- Pink 2, column 3
Wait until white 16 has mostly cleared the teeth before releasing pink 2.
-
Drain source row 3 left to right:
- Blue 24
- Yellow 30
- Green 28
-
Feed the cleanup refills. Send the remaining small yellow, black, blue, white, pink, and green waves into empty buffer pads, leaving a beat between each.
Common Mistakes
-
Releasing blue 38 too early. Wait until yellow 15 and black 25 have cleared the dirt path. Early blue accents clog the route and delay the later blue 28 and blue 24 waves.
-
Sending white 16 before the black outline is mostly cleared. White ants stall on the teeth cells and block the late mouth refills.
-
Tapping pink 2 before white 16 clears the teeth. The mouth route cannot handle both waves cleanly at once. Pink ants stall on the remaining tongue cells and prevent cleanup.
Quick Tips
-
Always start with yellow 15 in active-row cell 2, followed by black 25 in cell 3. This protects the shared dirt route.
-
Keep empty white buffer pads available for the late cleanup waves. Do not fill them early with blue 38 or other large source-row stacks.
-
Hold pink 2 until white 16 has cleared the teeth route. Releasing pink first traps the tongue wave and prevents the mouth interior from clearing.
Related Games
- Colony Flow Level 38 Walkthrough — This later-level guide is a useful follow-up for players who want more advanced timing practice with queued color waves and limited active-row buffer space.
- Colony Flow Level 30 Walkthrough — Level 30 offers another Colony Flow routing puzzle for players looking to apply the same careful stack-order and path-clearing approach used in Level 62.
- Colony Flow Level 28 Walkthrough — This walkthrough provides a nearby mid-game challenge where managing color-specific waves and avoiding blocked routes remains the key gameplay skill.
Enjoy!