
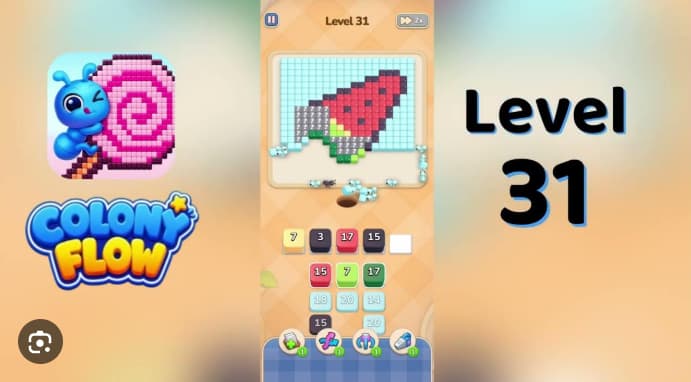














































































































































































Colony Flow Level 31 Walkthrough guides you through one of the trickier puzzle stages in this connect-the-dots colony builder, where managing flow paths becomes critical to solving the grid.
Level 31 introduces tighter space constraints and overlapping colony requirements that demand careful planning before you commit to a path. This walkthrough breaks down the optimal solve sequence, shows you which flow connections to establish first, and explains how to route your colonies without blocking yourself into dead ends.
You’ll get the full step-by-step solution with visual cues for where each connection needs to go, plus backup strategies if you’ve already placed pipes in the wrong spots.
Colony Flow Level 31 Walkthrough
Colony Flow Level 31 uses a five-cell top row with three white buffer slots above a 3-by-4 source grid. All ants share a single dirt path to the X-shaped Celtic-cross pixel art. The image has three clearing jobs: white ants remove the soft white background, orange ants clear four thick diagonal arms forming the X, and dark navy ants clear four small quadrant diamonds plus a larger center diamond. The key is preserving buffer slots for rising refills while controlling the shared route.
Start by tapping white 8 at the far left. White ants drain the background cells closest to the ant hole. Wait for the first wave to clear the bottom edge before tapping orange 15 in the second cell, which starts clearing the upper-left-to-lower-right orange arm. Leave one beat between waves so they don’t jam the shared path.
Wait for dark navy 7 to rise into the third top-row cell, then tap it to open the first navy diamond. Don’t use the dark navy 25 stacks, white 30, orange 30, or orange 28 yet.
Tap the rising white 19, then white 6. Give each wave time to advance before allowing the next refill into an active slot.
Clear the remaining orange arms: orange 27, orange 16, the first-source-row orange 30, then the third-source-row orange 28.
Use the two dark navy 25 stacks after orange arms are open. These finish the quadrant diamonds and center diamond.
Finish with late white, orange, and navy refills as they enter the newly available top-row spaces.
Key Mechanics
Shared route: Every ant follows the same dirt path to the art’s bottom edge. Let each wave advance at least one beat before sending another color.
Buffer-slot pressure: The three empty white slots aren’t spare spaces. They’re needed for early dark navy 7, white 19, orange 27, and orange 16 refills. A premature white 30, orange 30, orange 28, or dark navy 25 can block required stacks from reaching the active row.
Board-state gates: Orange 15 must clear its first arm cell before the first-source-row white 30 can move without crossing blocked orange cells. At least one orange arm should be open before the second-source-row dark navy 25 is safe to use.
Image completion: A mostly empty source grid doesn’t mean the level is finished. Check the art for remaining white background cells, orange arms, or navy diamonds.
Common Mistakes
-
Filling the three buffer slots before white8, orange 15, and dark navy 7 waves have cleared the X perimeter. This strands dark navy and white ants behind active orange ants and leaves cells undrained.
-
Firing the second-source-row dark navy 25 before at least one orange arm cell is open. This strands dark navy ants and blocks the third-source-row orange 28 refill needed for the X arms.
-
Tapping the first-source-row white 30 before orange 15 has cleared its first arm cell. This sends white ants across arm cells orange must clear and stalls them on remaining diagonal cells.
Quick Tips
- Open with white 8, then orange 15, then the rising dark navy 7.
- Keep the top-row buffer slots open until small early refills appear.
- Don’t rush the dark navy 25 stacks while the orange X is still closed.
- Let each wave clear the shared dirt path before committing another large stack.
- Use the empty pixel-art canvas as the completion check, not the source grid.
Related Games
- Colony Flow Level 19 Walkthrough — Continue with another late-teen Colony Flow puzzle walkthrough for similarly timing-sensitive stack taps, refill management, and color-matched path clearing.
- Colony Flow Level 18 Walkthrough — This nearby level guide is a useful follow-up for players practicing the queue-order and buffer-slot decisions needed to avoid blocking ant waves.
Enjoy!