
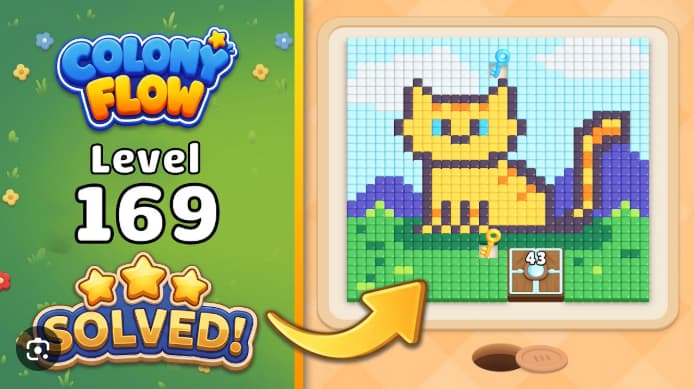














































































































































































Colony Flow Level 169 Walkthrough guides you through one of the trickier stages in this connection-based puzzle game, where strategic pipe placement and flow management become critical.
This level introduces overlapping colony zones that require careful sequencing—rushing the outer pipes before establishing your central network will lock you into dead ends.
This walkthrough focuses on the optimal opening moves, which colonies to prioritize first, and how to avoid the most common flow-blocking mistakes that force restarts.
You’ll find clear step-by-step play instructions, visual cues for spoting the critical junction points, and practical tips for maintaining momentum when the board fills up.
What Is Colony Flow Level 169 Walkthrough?
Level 169 clears a wide-eyed cartoon face on a yellow field. The solution is yellow first, red second, black last. The two yellow 40 stacks and the first yellow 38 remove the background, while the delayed red 29 and black outline groups finish the eyes and mouth without congesting the lower routes.
How to Play Colony Flow Level 169 - Step-by-Step Solution
-
Tap both yellow 40 stacks, then the first exposed yellow 38. Leave red 29 and black 30 untouched.
-
Wait for the yellow flow to pass through 33 / 37 / 36, then 27 / 31 / 30, and finally 7 / 11 / 10. Let the yellow background and green corner pixels clear before opening another color.
-
Clear the next yellow 38 and yellow 34, then take the exposed gray-white 26 / 22 groups. Keep one white buffer free for the side blocks and eye whites.
-
Once the yellow traffic has thinned, tap red 29 first. The source shows red beginning to fall while the black card still sits at 30, clearing the mouth before the pupils enter.
-
Tap black 30 next, then route the remaining black 30 / 30 stacks for the pupils and purple outline. Wait whenever dark ants collect at the bottom hole.
-
Clear the remaining yellow background and green corner decorations. The face may disappear before the level completes—wait for the final black 1 and any remaining yellow perimeter ants before the Victory transition appears.
Common Mistakes to Avoid
- Opening black 30 before the yellow 40 / 40 / 38 background wave has thined, which mixes eye-outline ants with the full yellow perimeter.
- Tapping red 29 too early or using all white buffers before gray-white 22 / 26 are exposed, leaving the mouth and side blocks without a clear staging route.
- Stopping when the face disappears while the thin dark top outline, black 1, and last yellow perimeter ants are still active.
Frequently Asked Questions
Why do the yellow stacks go before black 30 and red 29?
Yellow 40 / 40 / 38 remove the large background and open the lower edge while keeping the black/red pair unchanged. This leaves the eye detail route clear for the second pass.
Should red 29 or black 30 be tapped first?
Red 29 goes first after the yellow traffic thins. The source shows red falling while black 30 remains full, so the mouth clears before the pupils and purple outline enter the crowded route.
Why is an empty-looking face not the end?
The source leaves a thin dark outline, small mouth/eye pixels, and yellow ants on the frame. Wait for the final black 1 and the yellow perimeter to clear before Victory.
Related Games
- Colony Flow Level 40 Walkthrough — Continue with another Colony Flow puzzle guide after mastering Level 169’s opening strategy of releasing the largest yellow stacks before darker colors.
- Colony Flow Level 38 Walkthrough — This walkthrough is a useful follow-up for players who want more practice reading exposed groups and timing color releases around crowded routes.
- Colony Flow Level 30 Walkthrough — Try this level guide next if Level 169’s delayed black-stack cleanup and careful buffer management were the most challenging parts.
Enjoy!