
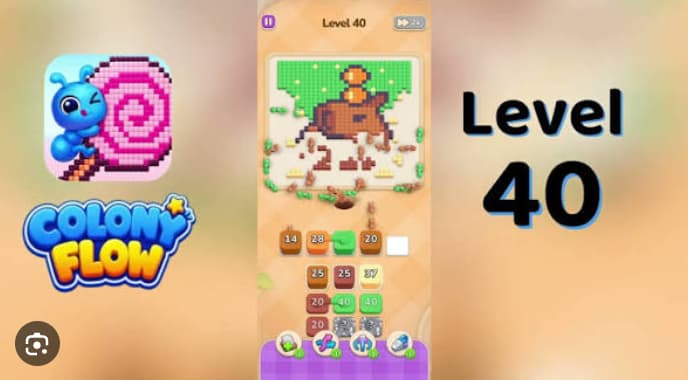














































































































































































Colony Flow Level 40 is a puzzle stage where players must clear all tiles by matching adjacent colors until the board is empty.
The level introduces large brown and green tile clusters that demand strategic reduction of one color before safely accepting the next group, alongside compact trays with limited waiting slots where poor tile selection can instantly fill every available space.
Success requires identifying which outer color groups unlock access to enclosed tiles, since the board features large shapes made from several color regions that cannot be cleared until their surrounding tiles are removed first.
This walkthrough breaks down the tile order, tray management tactics, and color prioritization needed to achieve a Full solve without restarting from blocked positions.
How to Solve Colony Flow! Level 40 — Full Walkthrough
Colony Flow! Level 40 is a butterfly board where red accents, the purple body, white wing spots, the blue dock, black outline, and yellow background all share one route. The small blue dock must stay delayed until the central wing traffic has started clearing. The board opens with a five-cell active row (red 30, blue 25, purple 26, white 35, black 40) and a three-by-three source grid below.
Clear the active row in order—red, purple, white, blue, black—leaving one beat between taps so each ant wave begins moving before the next enters path. Then clear the source grid row by row, left to right, after black has opened the shared route.
-
Tap the red 30 stack in the far-left cell of the active row. Red ants clear the red accent cells within the butterfly wings. Wait until the bottom-edge accents begin disappearing before selecting another stack.
-
Tap the purple 26 stack in the third active-row cell. Purple clears the butterfly body and inner-wing shape. Red and purple use the same route, so give the red wave time to move through the field.
-
Tap the white 35 stack in the fourth active-row cell. White ants clear the scattered wing spots. Wait one beat, ideally until the purple body is at least half-cleared.
-
Tap the blue 25 stack in the second active-row cell. Blue clears the lower-left dock/box. Sending blue too early can stall the later blue 35 refill and clog the shared path.
-
Tap the black 40 stack in the fifth active-row cell. Let the black outline wave clear the dirt path before touching the source grid.
-
Clear source row 1 from left to right: red 25, yellow 33, red 25. Leave one beat between each stack.
-
Clear source row 2 from left to right: white 27, red 25, black 40. Wait briefly between taps so refills have an open route.
-
Clear source row 3 from left to right: yellow 45, blue 35, yellow 45. Finish any small refill waves that rise into the newly drained active-row slots.
Common Mistakes to Avoid
- Firing the blue 25 stack before the red 30 and purple 26 waves have cleared the perimeter sends blue ants across the wing field that purple has to clear, stalling them on remaining dock cells and blocking the blue 35 refill.
- Tapping the yellow 33 in source row 1 while purple ants are still walking the dirt path strands yellow ants on remaining background cells and blocks the late yellow 45 refills.
- Letting the white 27 in source row 2 rise into the active row before the white 35 wave has cleared the wing spots strands white ants on remaining spots and blocks the red 25 refills.
Quick Tips
- Clear central wing traffic before edge traffic. Red, purple, and white handle the crowded accent, body, and spot regions. Removing them first gives later colors room to travel.
- Save blue for late. The lower-left blue dock shares its route with the central colors. Wait until white is mostly clear before releasing blue.
- The active row begins without spare buffer slots. Every early stack must make room for the next refill, so follow the listed source-grid order.
- Leave one beat between waves. Tapping too quickly sends the next color into occupied cells, which can stall ants and block the refill chain.
Related Games
- Colony Flow Level 35 Walkthrough — This late-game walkthrough is a useful follow-up for players who want more practice managing tightly timed color waves and delayed stack releases.
- Colony Flow Level 30 Walkthrough — Level 30 provides another nearby progression challenge for players learning to sequence shared-path ant stacks without blocking later refills.
Enjoy!