
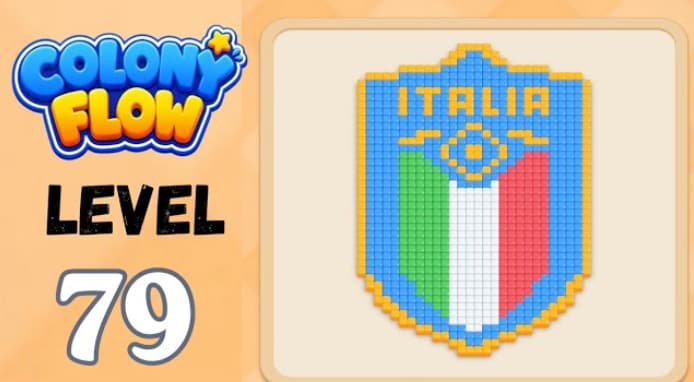














































































































































































Colony Flow Level 79 Walkthrough guides you through one of the trickiest puzzle stages in Colony Flow, where pipe placement and resource timing become critical.
This level introduces tighter space constraints and requires precise sequencing to connect your colony’s flow networks without bottlenecks or dead ends. This walkthrough covers the optimal pipe layout, the key decision points that trip up most players, and how to handle the mid-level resource crunch.
You’ll find step-by-step placement order, which connections to prioritize first, and how to recover if you misplace an early piece—practical details that help you complete Level 79 efficiently rather than restarting repeatedly.
What Is Colony Flow Level 79?
Colony Flow Level 79 is an ITALIA shield board where the blue crest border, green-white-red flag stripes, and yellow lettering all share one upper route. The red center stripe and yellow text cannot clear the top of the emblem until the crest border and at least one light stripe open first.
To complete the level, start with a light stripe and the blue crest border before releasing the red center stripe. Save the yellow lettering until the upper edge is quiet.
Colors: Blue, Green, White, Red, Yellow
Step-by-Step Strategy
Release a green or white stripe first.
Start with the light stripe that has the clearest lower route. This opens space inside the shield without filling the upper crest.
Send the blue crest-border wave.
Clear the blue outline next. This creates the upper path needed for the remaining stripes and lettering.
Route the other light stripe.
Move the remaining green or white stripe while the top entrance is still open.
Release the red center stripe.
Wait until the blue crest border and at least one light stripe are mostly cleared. Sending red too early blocks the center route.
Clear the yellow ITALIA lettering.
Send the yellow letter cells once the crest area is quiet. Finish with remaining blue-border or stripe cleanup pieces.
Common Mistakes to Avoid
-
Starting red too early: The red center column blocks the path needed by the white stripe and yellow letering.
-
Using yellow during crest congestion: Yellow’s small letter cells strand easily behind blue border traffic or the red stripe.
-
Ignoring the blue crest border: Clearing an inner stripe alone does not open the top entrance. The blue border must move before later waves can pass cleanly.
-
Releasing too many colors at once: Keep the upper route controlled. Clear one path, then use that space for the next color.
Related Games
- Colony Flow Level 39 Walkthrough — Continue with another Colony Flow puzzle to practice reading shared routes and timing color releases before a crowded path blocks later waves.
Enjoy!