
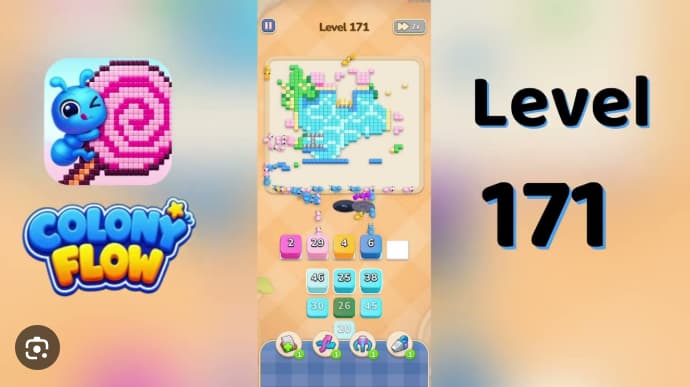














































































































































































Colony Flow Level 171 Walkthrough guides you through a pale-cyan pixel scene wrapped in green, pink, purple, and yellow.
The level stays active after the main picture breaks apart because detached cyan and yellow fragments still need the central hole to complete the puzzle. This walkthrough focuses on the clearest route, connection order, and practical mechanics you need to solve Level 171.
You’ll find step-by-step guidance for managing the disconnected fragments and filling the central gap without blocking your path.
What Is Colony Flow Level 171 Walkthrough?
Colony Flow Level 171 routes a pale-cyan central image and its detached fragments into the central hole. The level does not end when the main picture clears—isolated cyan islands and yellow ladder pixels remain and must also reach the hole before Victory appears.
The main challenge is traffic control. Pink, cyan, yellow, and green ants all use the same central-hole approach, while five white buffer pads provide limited staging space. Gray question-mark patches in the top-center and left-center can remain; they are not required for completion.
How to Play Colony Flow Level 171
Open the central route early, then let each color drain before introducing another large group. Keep at least one white buffer pad empty during the middle wave so late fragments have space to move.
- Start with pink 13 and cyan 25.
- Feed yellow 69 through 68/64/62, then bring in green 32/19 and route 18/6/5.
- Avoid opening lower pink cards while cyan and yellow still occupy the bottom perimeter.
- During the middle wave, use pink 50, cyan 26, pink 38/41, green 27, and pale-pink 34, keeping one buffer pad available.
- In the late phase, pause between colors because yellow 5/3/1, blue 10/8, purple 20/7, and remaining green groups share the perimeter lane.
How to Play Colony Flow Level 171 - Step-by-Step Strategy
Open pink 13 and cyan 25 first.
Wait until both ant streams move away from the central-hole approach before adding more traffic.
Add yellow 69, then green 32/19.
Continue yellow through 68/64/62 and green through 18/6/5. Let the lower-right green mass drain before opening another pink card.
Handle the transition in sequence.
Use pink 41/36, blue 29, and pale-cyan 20 as the outer route opens. Gray question-mark patches can remain.
Pause during green congestion.
Route green 20/30/35 and cyan 40 only when ants are no longer stacked beneath the left gray patch or around the lower-right green mass.
Keep a white pad empty for the middle wave.
Clear pink 50, cyan 26, green 27, and pale-pink 34 without filling every buffer pad.
Clear the final detached fragments.
Finish with pale-cyan 36/30, cyan 24, yellow 31, blue 3, and green 1. Wait for every detached cyan island and yellow ladder pixel to enter the central hole.
Related Games
- Colony Flow Level 41 Walkthrough — Continue with another Colony Flow routing puzzle that similarly requires careful sequencing of colored ant stacks around shared board lanes.
- Colony Flow Level 36 Walkthrough — This nearby level is a useful follow-up for players practicing the timing and buffer-pad management needed to prevent route jams.
What Happens If You Skip the Detached Fragments?
The level will not complete if you stop after the main pale-cyan picture clears. Detached cyan islands at 36/30 and 24, yellow ladder pixels at 31, and small blue 3 and green 1 groups all remain on the board. These fragments must reach the central hole before Victory appears.