
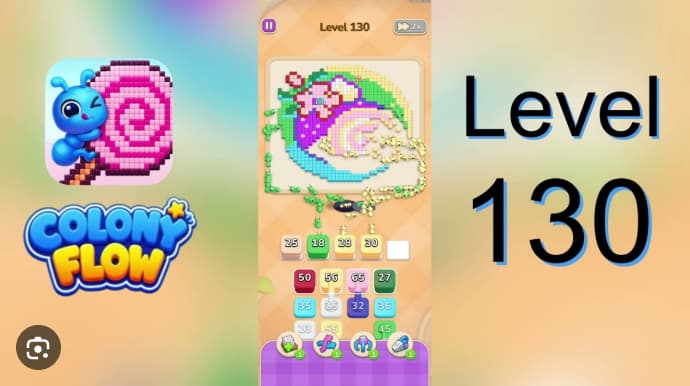














































































































































































Colony Flow Level 130 requires clearing the board’s largest mass to progress.
This walkthrough breaks down the specific moves and sequencing needed to eliminate that central cluster efficiently, along with positioning strategies that set up chain reactions across the remaining pieces.
The guide focuses on practical execution: which colors to target first, how to create openings in dense sections, and when to shift from board setup to final clearance.
These mechanics directly address the level’s core challenge—managing limited moves while dismantling a sprawling connected group that dominates the playing field.
Colony Flow Level 130 Walkthrough
Colony Flow Level 130 requires clearing a layered shell board through one shared ant hole. The narrow inner spiral and upper-right green leaf edge must drain first, before the broad purple shell body, yellow bands, and upper-left flower cluster can safely use the same exit.
The board contains a cream inner spiral with bright yellow trim, green upper-right leaf-edge pieces, a wide purple shell body with lower tail, and a small upper-left flower cluster of pink, red, pale, and white pieces. The single ant hole clogs if wide groups arrive before narrow routes open.
Solving Colony Flow Level 130
Open the inner route first.
Start with loaded pale-pink 65, white 25, green 12, and green 25. These activate the inner-shell path and upper-right leaf edge.
Widen the spiral before heavy traffic.
Send pale 50, then yellow 56 and yellow 55 to open space for the cream spiral core and bright upper trim.
Delay the purple shell family.
Send purple 70 and deep-purple 55 only when the spiral is visibly clearing. The broad left-and-lower shell body is the level’s main danger: sending it early parks ants around the shared entrance and blocks the final curl.
Clear the flower cluster during midgame.
Use pink 60, pink 65, small red petals, and pale filers once the major shell mass has begun reducing. Leaving these tiny upper-left pockets for the final phase creates bottlenecks.
Finish the linked cleanup together.
Clear late white spiral pieces, remaining yellow trim, green leaf-edge pixels, and final purple lower-tail segments as one connected finish. Forcing one group too soon clogs the shared route.
Common Mistakes
-
Flooding purple early. Purple 70 and deep-purple 55 can choke the inner curl before it fully opens.
-
Neglecting the upper trim. Green 45 and smaller green cleaners protect the upper-right leaf edge, while yellow 56 and 55 widen the bright bands. Ignoring these leaves isolated edge pixels for awkward late cleanup.
-
Treating yellow as cleanup only. The yellow bands expand usable shell channels before larger purple waves arrive.
-
Saving flower petals for endgame. Pink 60/65, red petals, and pale fillers compete with the lower tail and yellow trim if left untouched.
-
Isolating the final phase. Final white spiral pieces, purple tail, yellow edge, and green trim clear more safely together than in separate pushes.
Related Games
- Colony Flow Level 70 Walkthrough — Continue with another advanced Colony Flow puzzle for similarly careful lane management and wave-order planning.
- Colony Flow Level 65 Walkthrough — Its mid-to-late-game routing challenge is a useful follow-up for players practicing how to prevent large color stacks from blocking narrow cleanup paths.
Why Does the Purple Shell Body Jam Level 130?
The purple shell body is the board’s largest mass. If it enters before the inner spiral and upper trim are draining, ants park across the broad outer shell and block the same hole the final spiral curl needs.